Professional pressure washing services and more across Long Island.
Contact Info
- Roslyn Heights, NY 11577
- Call: 516-353-8711
- Text: 516-353-8711
- 24/7 - 365 Days
Professional pressure washing services and more across Long Island.
Contact Info
Your driveway takes a beating from oil drips, weather, and daily traffic. Here's what actually works to keep it clean and protected year-round.
Most driveways do fine with a deep cleaning once or twice a year. That’s enough to handle normal dirt buildup, light staining, and the grime that accumulates from regular use. But your situation might call for more frequent attention.
If your driveway sits in the shade, you’re probably dealing with moss or algae growth. Those areas stay damp longer, which means organic buildup happens faster. Same goes for driveways with heavy vehicle traffic or homes near trees that drop sap, leaves, and pollen. In those cases, cleaning every three to four months keeps things from getting out of hand.
On Long Island, you’ve also got coastal humidity and road salt in the winter. Both speed up staining and surface wear. If you’re seeing dark spots, slippery patches, or rust-colored streaks, don’t wait for your annual cleaning. Address it sooner rather than later.

Oil stains are probably the most common issue homeowners face. Cars leak. It happens. And when oil sits on concrete or asphalt, it doesn’t just stain the surface—it soaks in. Concrete is porous, which means it absorbs liquids like a sponge. The longer that oil sits, the deeper it penetrates, and the harder it becomes to remove. On asphalt, oil can actually break down the binders that hold everything together, leading to soft spots and eventual cracking.
Rust stains show up for different reasons. Sometimes it’s from metal patio furniture or lawn equipment left sitting on the driveway. Other times it’s from fertilizer with high iron content that gets tracked onto the surface and oxidizes when it gets wet. Rust bonds with the minerals in concrete, so it’s not something you can just hose off.
Tire marks are another frustration, especially in hot weather. When tires heat up, they leave rubber deposits that cling to the surface. You’ll see black streaks where cars turn or brake suddenly. They’re more visible on concrete than asphalt, but they’re stubborn either way.
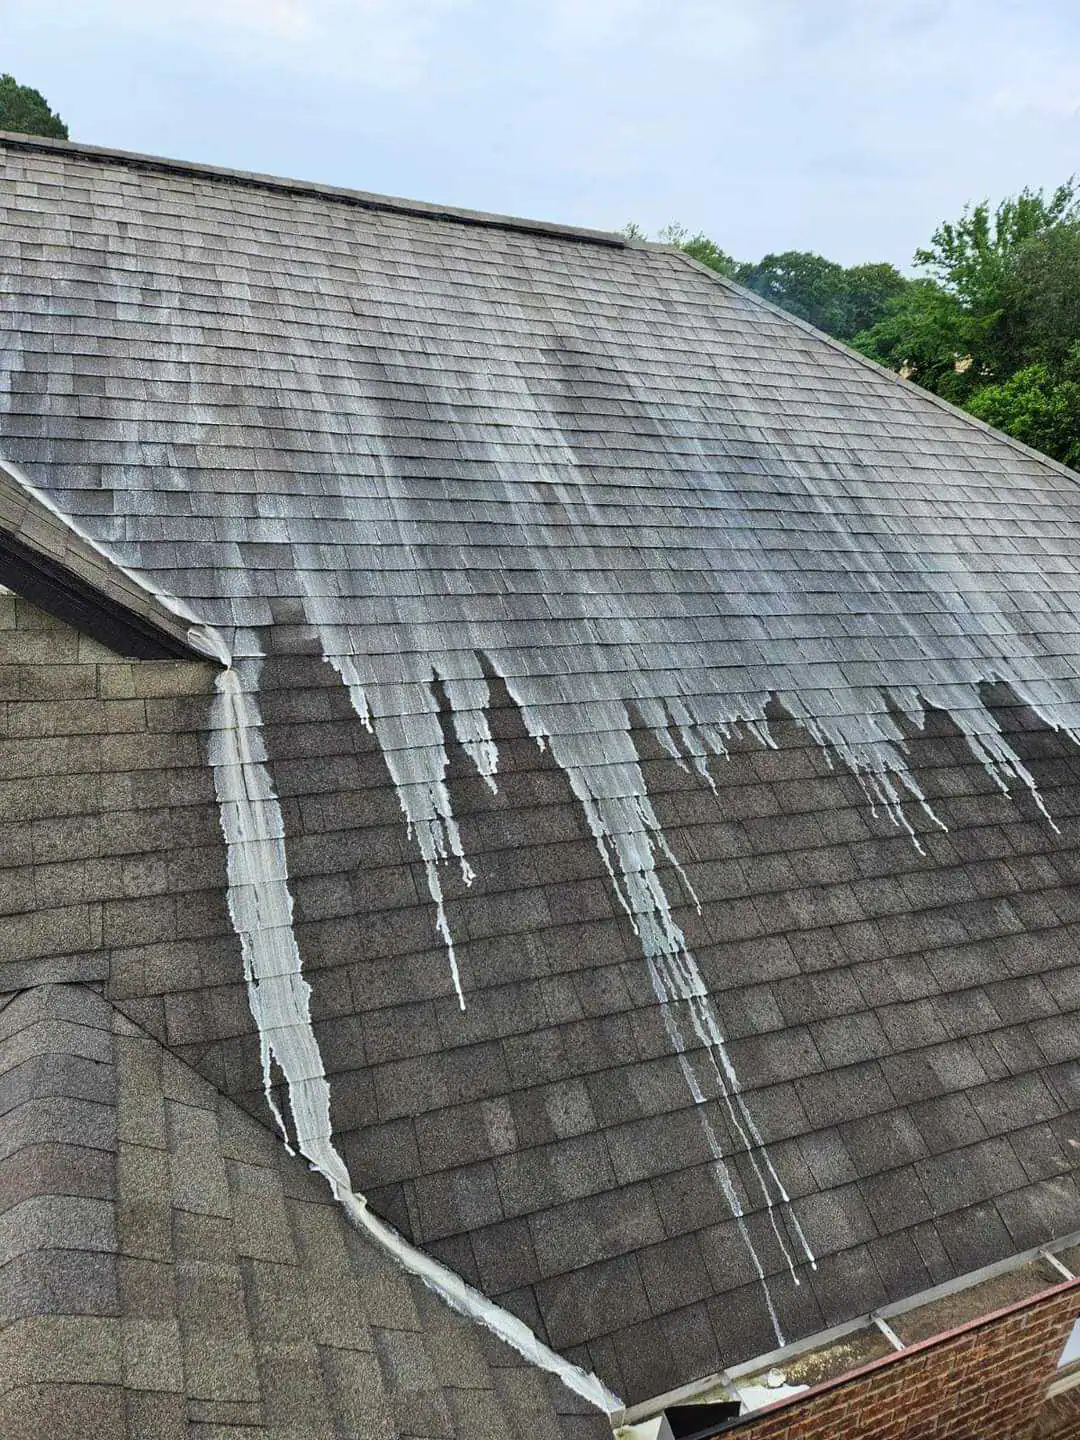
Then there’s the organic stuff—algae, moss, mildew. If any part of your driveway stays shaded or holds moisture, you’re creating the perfect environment for growth. Not only does it look bad, but it also makes the surface slippery and unsafe. Left unchecked, organic growth can work its way into cracks and accelerate deterioration.
All of these issues are manageable if you catch them early. The key is understanding what you’re dealing with so you can use the right approach instead of just blasting everything with water and hoping for the best.
Ignoring driveway maintenance doesn’t just leave you with an eyesore. It sets you up for bigger problems down the line. Stains aren’t just cosmetic. Oil and grease can chemically break down asphalt, causing it to soften and crack. On concrete, absorbed contaminants weaken the surface and make it more vulnerable to freeze-thaw damage during winter.
When water seeps into small cracks and then freezes, it expands. That expansion pushes the crack wider. Over time, small cracks turn into big cracks, and big cracks turn into chunks of broken concrete or asphalt that need replacing. If you’ve got oil or other chemicals sitting in those cracks, the damage accelerates.
Algae and moss might not seem like a big deal, but they trap moisture against the surface. That constant dampness speeds up wear and creates an environment where more organic material can take hold. Before you know it, you’ve got a slippery, stained mess that’s harder to clean and more expensive to fix.
Then there’s the safety issue. A driveway covered in algae or oil residue is a slip hazard, especially when it’s wet. That’s a risk for you, your family, and anyone visiting your home. If someone gets hurt, you’re looking at a liability situation that could have been avoided with regular maintenance.
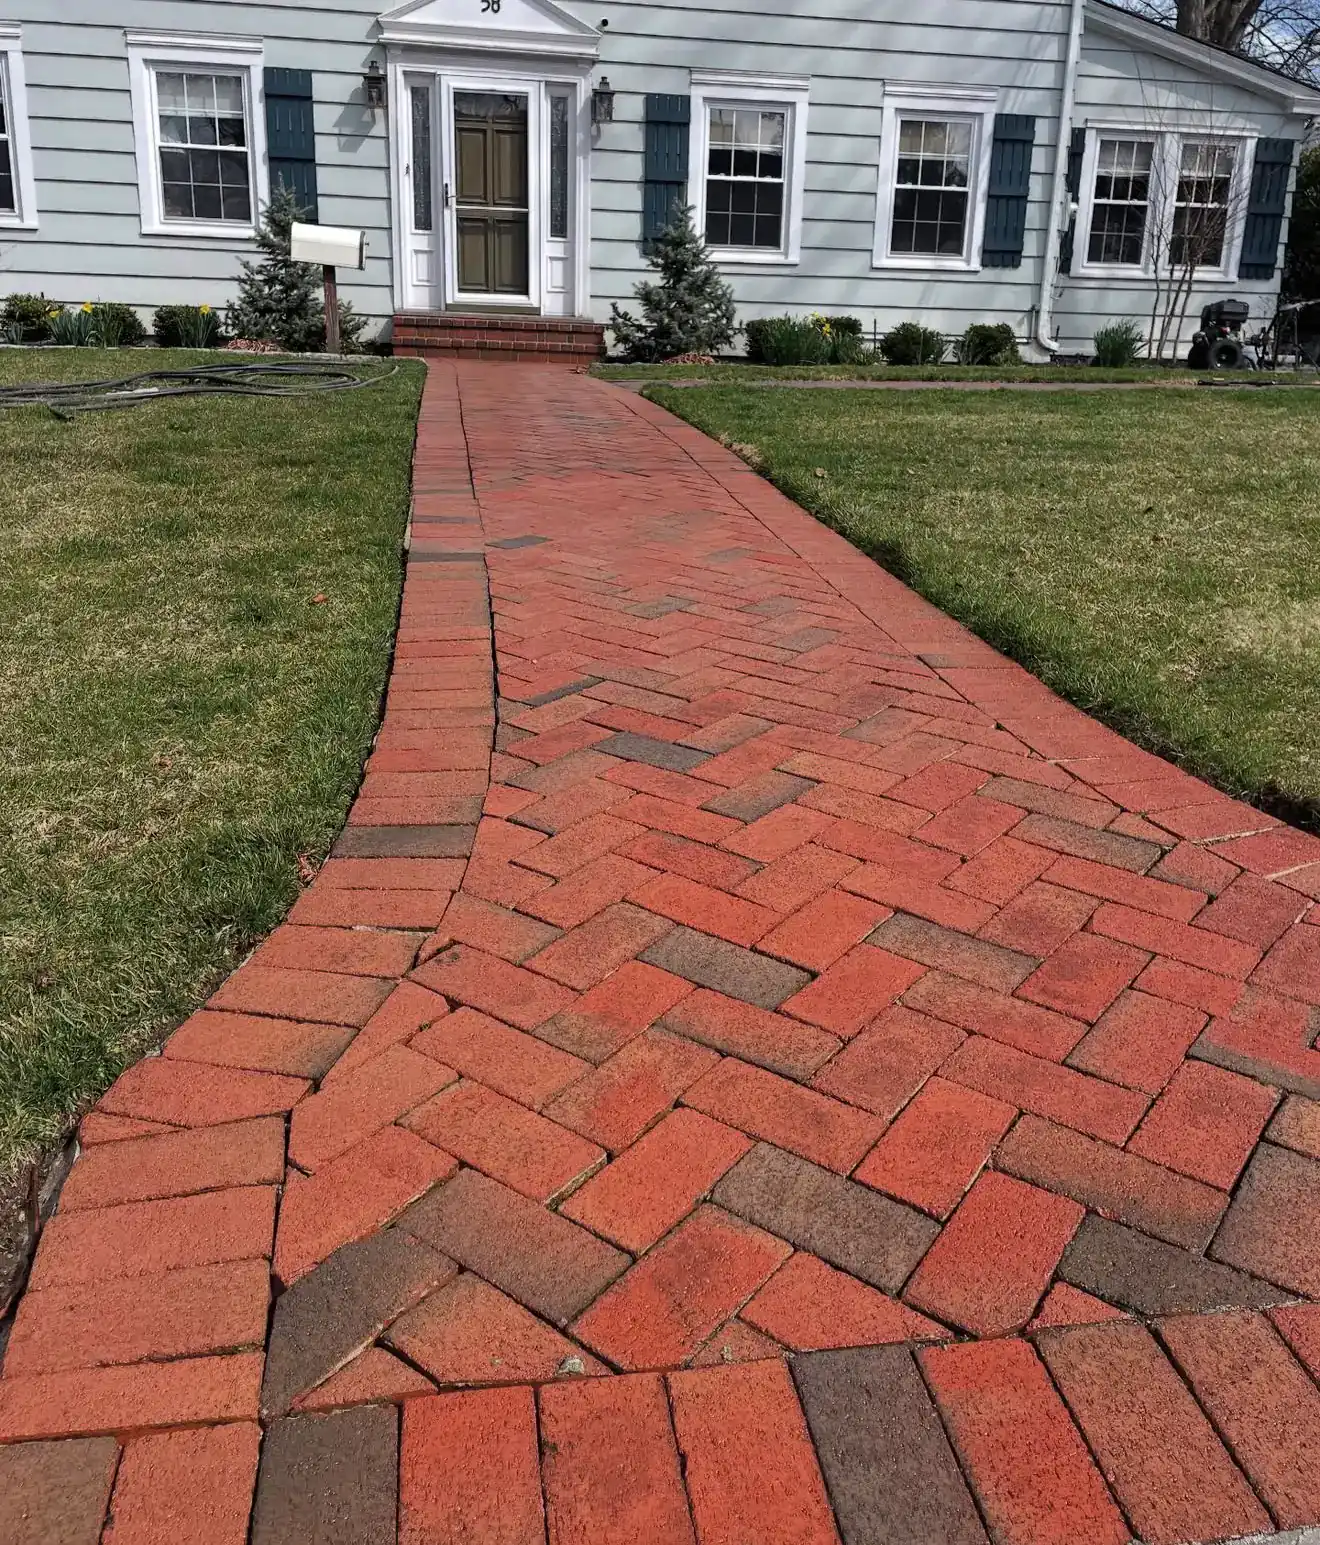
The other thing people don’t always consider is curb appeal. Your driveway is a big part of your home’s first impression. A stained, neglected driveway makes the whole property look run-down, even if everything else is well-maintained. If you’re planning to sell at some point, that matters. Buyers notice.
Regular cleaning isn’t just about keeping things pretty. It’s about protecting your investment and avoiding repairs that cost a lot more than a simple wash ever would.
Want live answers?
Connect with a CPR Power Washing expert for fast, friendly support.
Oil and rust stains are two of the toughest challenges you’ll face with driveway cleaning. They don’t respond to a simple rinse, and if you use the wrong approach, you can make things worse or damage the surface. The good news is that both are removable if you know what you’re working with.
For oil stains, the first step is dealing with any fresh spill. If the oil is still wet, soak it up with an absorbent material—cat litter, baking soda, or even cornstarch works. Let it sit for a few hours to pull the oil out of the surface, then sweep it away. That handles the surface layer, but if the oil has already soaked in, you’ll need something stronger.
Rust stains require a different approach. You’re dealing with a chemical bond between iron and the minerals in your driveway, so you need something that can break that bond without eating away at the concrete or asphalt underneath.

Once you’ve dealt with any fresh oil, the next step is treating what’s already absorbed. For concrete driveways, a commercial degreaser designed for concrete is your best bet. These products are formulated to penetrate the porous surface and lift oil from deep within. You apply the degreaser, let it sit for the recommended time, scrub with a stiff-bristled brush, and rinse thoroughly.
If you’re going the DIY route, dish soap can work for lighter stains. Mix it with hot water, scrub it into the stain, and rinse. It’s not as effective as a commercial product, but it’s a decent starting point for minor issues. For tougher stains, you might need to repeat the process a few times.
There are also poultice-style removers that you pour directly onto the stain. They dry into a powder that pulls the oil up as it hardens. Once it’s completely dry, you sweep it away. These work well for older, set-in stains, but they take time—usually overnight or longer.
For asphalt driveways, you have to be more careful. Some cleaners that work great on concrete can damage asphalt by breaking down the binders. Stick with products specifically labeled as safe for asphalt, and avoid anything with harsh solvents.
Power washing can help with oil stains, but only if you’ve pretreated the area first. High-pressure water alone won’t lift oil that’s soaked into the surface. You need the chemical action of a degreaser to break it down, then the pressure to rinse it away. And even then, older stains might not come out completely. Sometimes the best you can do is lighten them significantly and then seal the surface to prevent future staining.
One thing to avoid: using gasoline, paint thinner, or other petroleum-based products to clean oil stains. It might seem logical, but these can actually make the stain worse or damage your driveway. Stick with products designed for the job.
Rust stains are tricky because the wrong product can do more harm than good. A lot of people reach for muriatic acid or straight vinegar, but both come with risks. Muriatic acid is extremely harsh and can etch concrete, leaving it powdery and weakened. Vinegar works on light rust, but if you use it repeatedly in the same spot, it can break down the cement in concrete and cause surface damage.
The safer option is a rust remover specifically designed for concrete or asphalt. These products use oxalic acid or other formulations that target rust without attacking the surface underneath. You apply the remover to the stain, let it sit for the recommended time, scrub gently, and rinse thoroughly. For stubborn stains, you might need to repeat the process.
Lemon juice is another option for smaller rust spots. The citric acid can help break down the rust, and it’s gentler than commercial products. Pour it directly on the stain, let it sit for a few minutes, scrub with a stiff brush, and rinse. It’s not as powerful as a dedicated rust remover, but it’s a good starting point for minor issues.
One important thing to know: if the rust stain is from something like a car battery or heavy fertilizer runoff, it might be permanent. Some stains are so deeply embedded that even professional-grade removers can’t fully lift them. In those cases, sealing the driveway after cleaning can help minimize their appearance and prevent new stains from forming.
When you’re working with any rust remover, test it on a small, inconspicuous area first. Different concrete mixes and asphalt formulations react differently, and you don’t want to discover that a product is too harsh after you’ve already applied it to a visible spot. And always rinse thoroughly after treatment to neutralize any remaining chemicals.
Tire marks are another common issue, especially on concrete. These respond well to degreasers or cleaners designed for rubber removal. Apply the cleaner, scrub with a stiff brush, and rinse. Power washing can help, but you’ll still need the chemical action to break down the rubber before the water can lift it away.
Once your driveway is clean, seal coating is one of the smartest steps you can take to protect it. A good sealer creates a barrier that prevents oil, water, and other contaminants from soaking into the surface. It also protects against UV damage, which can cause fading and surface deterioration over time.
For asphalt driveways, seal coating should be done every two to three years. It fills in small cracks, restores the dark color, and extends the lifespan of the surface. For concrete and pavers, a penetrating sealer works best. These sealers soak into the pores and create protection from within, without changing the appearance or making the surface slippery.
The key is timing. You need to apply sealer to a completely clean and dry surface. If you seal over dirt, oil, or other contaminants, you’re just trapping them in place, which defeats the purpose. That’s why power washing before sealing is so important—it removes everything so the sealer can bond properly.
If you’re in Nassau County, NY or Suffolk County, NY, you’re dealing with conditions that make sealing even more valuable. Winter road salt, coastal humidity, and temperature swings all take a toll on driveways. A good sealer helps your driveway hold up better and look better for longer. Regular cleaning combined with seal coating is the best way to protect your investment and avoid expensive repairs down the road. If you’re not sure where to start or you’d rather leave it to someone who knows what they’re doing, we can handle the whole process from cleaning to sealing.
Summary:
Article details:
Share: